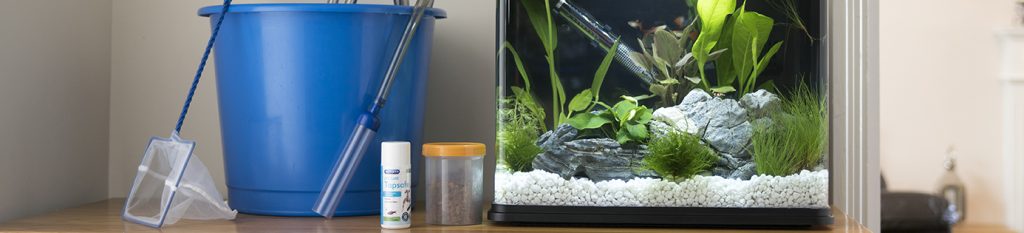
How to keep your aquarium clean
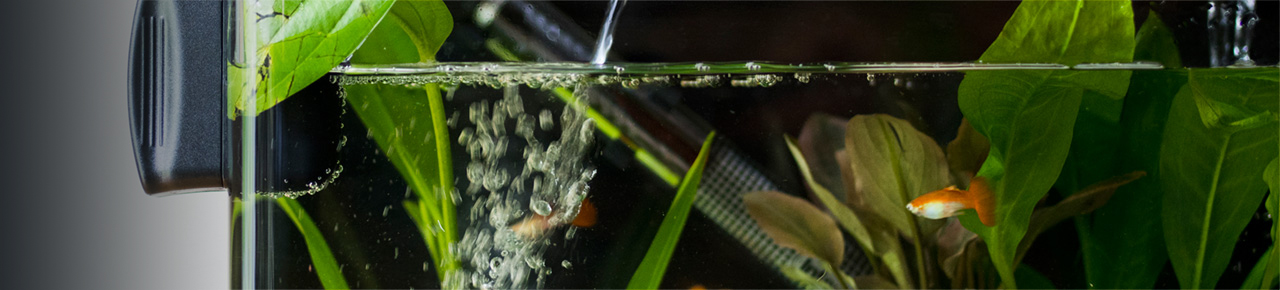
Every aquarium needs a regular cleaning routine to keep your water sparkling and your fish happy and healthy. A water change is one of the key methods for keeping your tank and water clean. We’ll explain how to carry out water changes as well as other cleaning jobs.
How often do I need to clean my aquarium?
You will need to carry out a partial water change (25%), clean your filter and have a general clean-up of your tank at least once a month. For larger tanks with more fish, this could be reduced to once every two weeks.
If you notice reoccurring problems such as algae growth, cloudy water, or foul odours, you may need to clean your aquarium more frequently. If the problem persists, you may need to test your water to identify the cause.
Before you clean your tank, make sure to wash your hands, arms and elbows. This will help prevent any contaminants from entering the aquarium. Avoid using soaps or moisturisers, as they can be harmful to fish.
Doing an easy water change
Regular water changes are an important part of caring for your aquarium and help you maintain good water quality for the health of the entire aquarium community.
There may be other times when you’ll need to do a water change such as when you start a new aquarium, after testing the water quality, or if you need to treat the water with fish medication.
A water change is simply the removal of a percentage of the aquarium water, which is then replaced with fresh, Tapsafe-treated water. Water changes remove waste and dirt, dilute the build-up of toxic elements and increase oxygen levels in the water – all great for aquarium life.
The video below runs you through the process of a water change to make sure you get the job done efficiently:
Doing a water change? Here are some other cleaning jobs you can do at the same time.
Removing water from the aquarium is a great time to clean the gravel.
Slowly move the gravel cleaner through the tank, pushing it gently into the gravel. This will suck up the dirt and waste, just like a vacuum cleaner for your aquarium. Do this until the required amount of water has been removed.
Most aquariums will have a murky build-up of algae on the glass at some point; this can be removed with a magnetic glass cleaner.
Magnets hold two cleaning blocks on either side of the glass. Just move the block on the outside to slide the inner block and remove the algae. Your arm stays dry and you don’t cause the fish unnecessary stress.
Just be careful not to get any gravel caught in-between the blocks and the glass as this will scratch your aquarium. Use a cleaner specifically designed for acrylic aquariums if yours is not glass.

Keep your filter working hard by freshening it up at each water change.
Replace your filter cartridge with the relevant service pack. If it has a build-up of dirt, just swill the ceramic media cartridge in the bucket of removed aquarium water.Never clean any part of the filter in tap water or detergent; they will kill beneficial bacteria, harming your fish.
If your décor and ornaments are starting to look grimy, the easiest way to clean them is to remove them from the tank and give them a proper clean with our aquarium ornament cleaner, carefully following the manufacturer’s instructions.
The good news is that regular aquarium maintenance helps reduce dirty build-up on ornaments.
Remove dead leaves during your water change and take the time to prune damaged ends and excessive growth. Consider the ongoing running and care costs of the aquarium, fish and equipment.

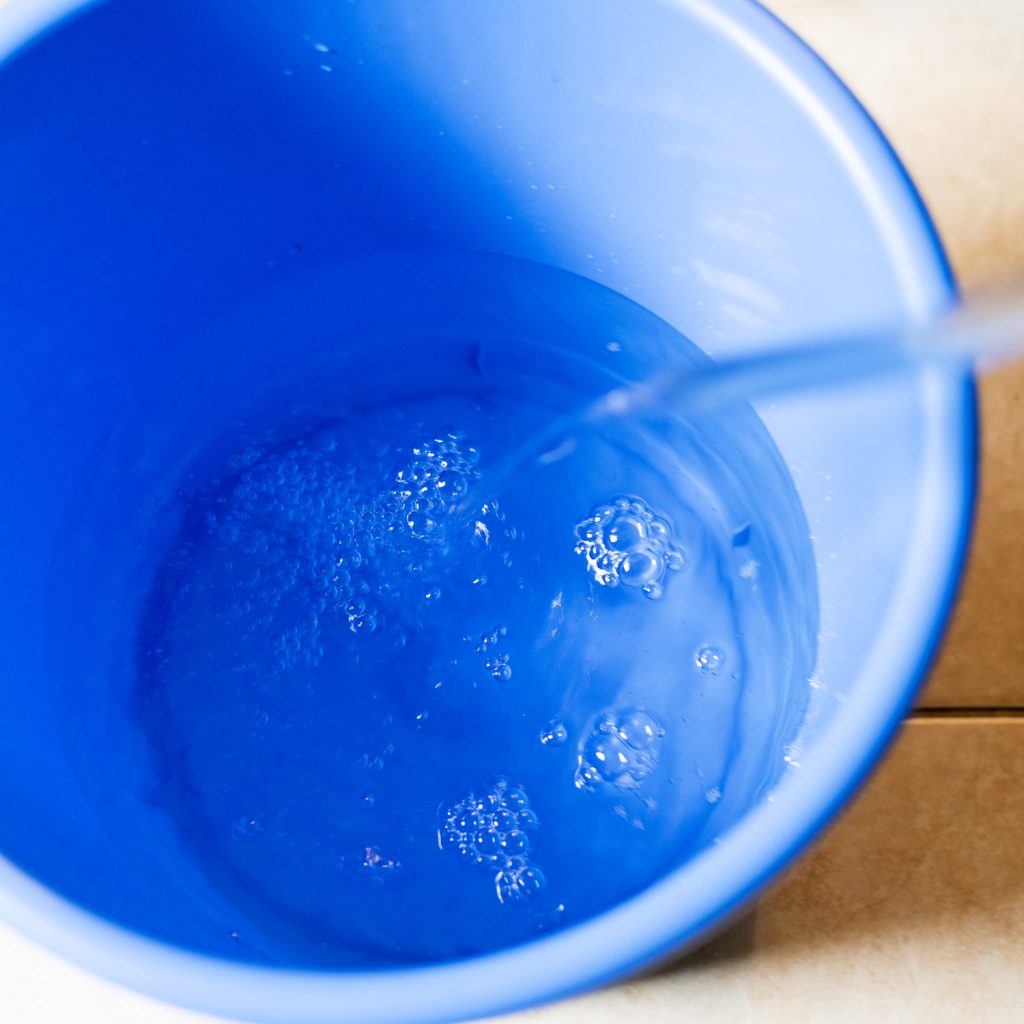
When it’s time to top up your aquarium with fresh water, make sure you treat tap water with a dechlorinator like Bioactive Tapsafe.
This will remove harmful chemicals or heavy metals. Before you add the new water, be careful to check it’s at the same temperature as the water in your aquarium.
If you keep tropical fish, use a heater to warm the water or add a little warm water to the bucket until it’s at the right temperature, checking with an aquarium thermometer.
For cold water aquariums, simply leave the bucket of new water to settle to room temperature. Use a jug to gently pour the water back into the aquarium, so your fish aren’t shocked by the rapid water change.
How to clean your fish tank
Step 1 – Testing your water

Start by testing your aquarium water for Ammonia, Nitrate, Nitrite and the pH level using an Complete aquarium dip test kit.
Follow the instructions on the testing kit and make sure you keep a record of your results.
By testing the water at this point, you’ll be able to spot issues and deal with them as part of the water change. You’ll also have a record to come back to during future water tests.
Step 2 – Turn off the power

Be safe! Turn off the power to your aquarium, remembering your heater if you have one. Both you and the fish will be safer this way.
You may keep your filter running if you prefer to.
Step 3 – Use a gravel cleaner
Put the gravel cleaner into the aquarium with the tube end pointing into your water collection bucket.
Start the water syphon following the gravel cleaner instructions, and begin to remove water from the tank. As the water is sucked out you can push the gravel cleaner into your substrate. This will remove waste that’s settled on the bottom of the aquarium.
Do this across the whole aquarium but keep an eye on the water level; you only want to remove 25% of your water.
Step 4 – Tidy up

Once you’ve removed 25% of the water, you can begin maintenance on your aquarium, which might include:
• Removing dead leaves
• Trimming excess plant growth
• Cleaning algae from the glass with a magnetic aquarium cleaner
• Removing rocks, plastic plants and ornaments, and cleaning them with a clean brush and water.
• Remove any uneaten food or fish waste
• Do not use chemical cleaners.
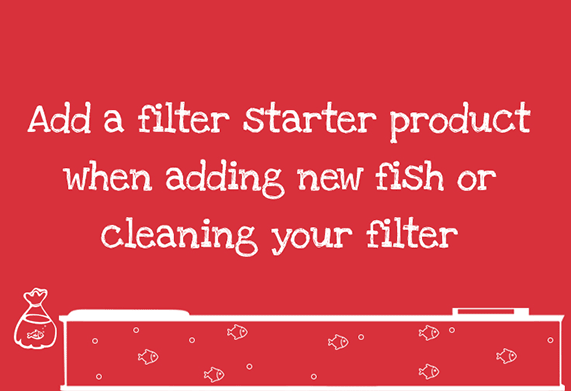
Step 5 – Clean your filter
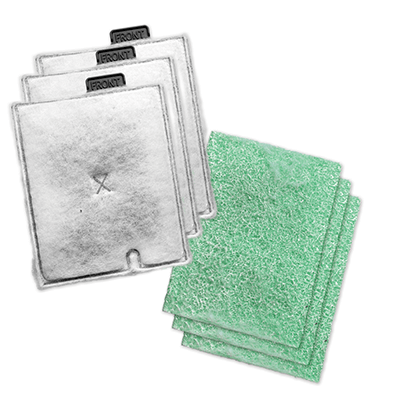
Whilst the water level is low you can replace the filter cartridge or clean the filter foams in aquarium water.
Replace the cartridges using the correct service packs for your filter. You may need to rinse some media to clear small blockages.
NEVER clean your filter media in tap water, always use the water you’ve removed from your aquarium and collected in a bucket. Cleaning in tap water will kill the good bacteria you’ve spent months cultivating in your filter.
Step 6 – Treat and top up
Once you’ve finished all maintenance tasks, you can dispose of the old aquarium water down the drain and refill your bucket with tap water.
But before you can add this water to your aquarium, you need to treat it with Bioactive Tapsafe to remove harmful elements.
You also need to think about the temperature of your aquarium; if you have a tropical tank you’ll need to heat the water to a temperature similar to that of the aquarium by adding a small amount of warm water. Use an aquarium thermometer to monitor this. For a cold-water tank let the water settle to room temperature.
Step 7 – Refilling your aquarium
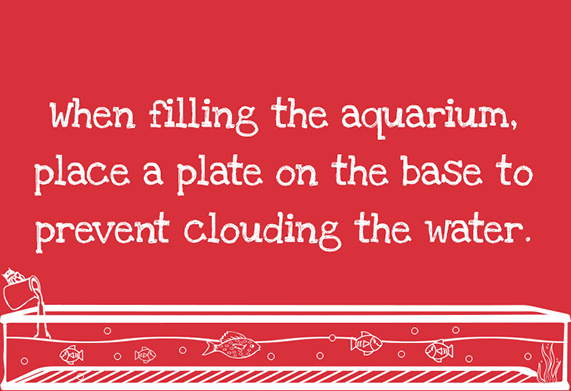
Carefully refill your tank to the suggested volume, and never higher than the maximum fill line of the aquarium.
Make sure you do this carefully to avoid disrupting your fish, substrate or clouding your water.
Step 8 – Prevention is best

Continue testing your aquarium water regularly, monthly is best, although more often won’t hurt. And keep doing those important water changes.
Water issues tend to be invisible, so regular testing is essential to keep your fish and aquarium healthy.
And finally…

It can be tricky, but try not to disturb your fish too much when carrying out routine maintenance.
You might find they go a little pale and hide for a short time after the clean out. You can help them by leaving the lights off for a short while and only return to your normal feeding routine once they are looking confident and active again.